Fixing the Starter Relay on a 2008 Infiniti G35x
The starter relay is a modest‑sized component, but when it fails it can leave your 2008 Infiniti G35x silent on the driveway. Most owners first notice a click‑less crank, a dim dashboard, or an intermittent start‑up that seems to improve after a few tries. Because the relay sits between the ignition switch and the starter motor, any hiccup there can masquerade as a battery or alternator problem.
Before you start swapping parts or calling a shop, a systematic troubleshoot can save both time and money. This guide walks you through the typical symptoms, how to locate and test the relay, and the step‑by‑step process to replace it safely.
Typical Signs of a Faulty Starter Relay
Not every click‑less start points to the relay, but these clues narrow the field:
- Turning the key produces a faint click, then nothing—no engine turnover.
- The dashboard lights dim noticeably when you try to start.
- Cold mornings make the problem worse, while a warm engine sometimes starts without issue.
- Jump‑starting the car works, but the problem returns after the battery is disconnected.
If you’ve ruled out a dead battery (voltage under 12.4 V) and the starter motor spins freely when directly powered, the starter relay is a prime suspect.
Finding the Starter Relay in the G35x
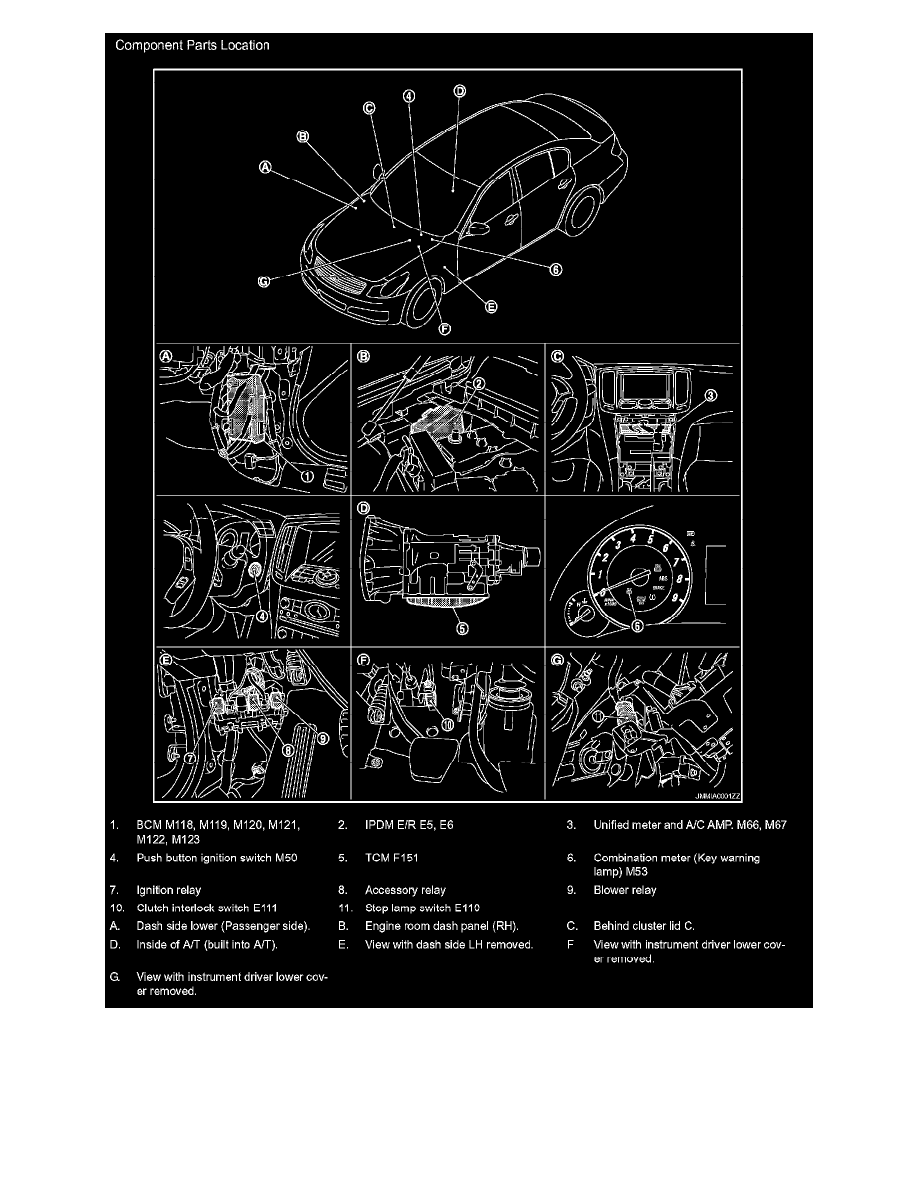
The relay lives in the engine‑bay fuse/relay box, typically on the driver’s side near the battery. On the 2008 G35x, it’s labeled “START” or “SR” on the diagram printed on the box cover. Pull the cover, locate the rectangular relay—about 1 × ½ inch—and note its orientation before removal.
Tools You’ll Need
- Flat‑head screwdriver or trim removal tool
- Multimeter with continuity and voltage settings
- Replacement relay (OEM or reputable aftermarket)
- Gloves and safety glasses
Testing the Relay Before You Replace It
A quick bench test can confirm whether the relay is truly at fault. With the ignition off, unplug the relay and connect the multimeter’s leads to the control side (usually pins 86 and 85). You should read a small voltage when the key is turned to the “start” position. Next, switch the meter to continuity mode and press the relay’s coil; a click should close the contacts, showing continuity between the output pins (30 and 87).
If the coil doesn’t click or there’s no continuity on the output side, the relay is bad. However, a weak coil may still produce a click but fail under load—this is where a voltage drop test under cranking conditions becomes useful, though most DIYers find outright replacement simpler.
Common Causes of Relay Failure
Relay issues rarely arise from the part itself; they’re often symptoms of surrounding problems:
- Excessive heat from the starter motor can bake the relay’s contacts.
- Moisture intrusion—common in regions with heavy rain—corrodes the internal springs.
- Worn ignition switch contacts that don’t supply enough voltage to energize the coil.
- Loose or corroded wiring at the relay socket, which can mimic a dead relay.
Inspect the relay socket for corrosion and ensure the wiring harness is snug before installing a new relay.
Step‑by‑Step Relay Replacement
Once you’ve confirmed the relay is the culprit, follow these steps to swap it out safely:
- Disconnect the battery. Remove the negative terminal to avoid any accidental shorts.
- Remove the faulty relay. Press the tab on the side of the relay and pull it straight out. Note the orientation.
- Inspect the socket. Use a flashlight to look for rust, burnt pins, or debris. Clean gently with electrical contact cleaner if needed.
- Install the new relay. Align the pins exactly as before and push it in until you hear a firm click.
- Reconnect the battery. Tighten the negative terminal and give the system a quick visual check.
- Test the start. Turn the key to “start.” The engine should crank normally; any lingering click‑less behavior suggests a deeper issue.
The entire process usually takes 20‑30 minutes, even for a first‑timer. Keep the old relay as a reference in case you need to double‑check pin placement later.
Preventive Maintenance Tips
To keep the starter relay healthy for years to come, consider these habits:
- Regularly clean the engine‑bay fuse box cover; dust can trap moisture.
- Check the battery’s voltage quarterly; a weak battery can stress the relay’s coil.
- When replacing the starter motor, inspect the surrounding heat shield and, if needed, add a heat‑resistant pad to protect the relay.
These simple steps reduce the chance of a repeat failure and keep your G35x ready for weekend drives.
Frequently Asked Questions
Can a bad starter relay cause a dead battery?
Indirectly, yes. If the relay repeatedly tries to engage the starter without succeeding, it can draw excessive current, draining the battery over time.
Do I need a special tool to remove the relay?
No. Most relays are designed for hand removal. A flat‑head screwdriver can help pry a stubborn unit, but avoid using excessive force that could damage the socket.
Is it safe to replace the relay while the engine is hot?
It's best to let the engine cool down. Heat can make the socket’s plastic housing soft, increasing the risk of cracking when you pry the relay out.
Will an aftermarket relay work as well as an OEM part?
High‑quality aftermarket relays often perform identically, but always verify the amperage rating matches the original (typically 30 A for the G35x). Cheap substitutes can fail prematurely.